- Share on Facebook16
- Share on Pinterest
- Share on Twitter
Confession: I’ve been known to improvise with my skincare and toiletries. Sometimes, when visiting friends or family, I don’t pack any face cleanser or lotion. Instead, I sneak into their kitchen to grab a few drops of olive oil or coconut oil to remove my makeup and moisturize my skin before bed.
While pretty much any oil from your pantry (or someone else’s) is arguably better than commercial products, which contain a wide array of undesirable chemicals and toxins, I’ve discovered that it’s just not about slapping any old oil on your face and calling it a day.
While this ad hoc approach may work in a pinch, it’s actually best to cater your cleansing and moisturizing oil to your particular skin type, needs and goals. Consider this article to be “Face Oil 101,” providing a primer on skin types and how to create the best oil for taking care of your unique complexion.
How to design your own face cleansing oil
While mainstream product marketers would probably have you believe that an army of different scrubs, masks, cleansers, lotions and serums are necessary to keep your face clean, nourished and moisturized, proponents of natural living say the exact opposite.
In fact, many support the idea that oil cleansing is an all-in-one approach to great skin. This is because oils can remove dirt and makeup, dissolve excess oil and sebum from the pores and nourish and moisturize the skin, all in one fell swoop.
The trick is in using not just one single oil, but in creating a blend with the correct proportions of different oils depending on your skin type. Depending on the oils you choose, you’ll get different amounts of vitamins, minerals, fatty acids and bioactive compounds, which serve to create different effects.
Before determining your ideal face oil blend, all you need to do is determine your individual skin type and issues, needs or goals.
Understanding your skin type
In general, there are four different skin types. Which type are you?
- Normal: Balanced levels of oil, smooth texture and even color
- Dry: Feels tight or itchy and shows flakes or scales
- Oily: Tends to be shiny and often acne-prone
- Combination: Usually dry on the cheeks and oily across the forehead and down the nose and chin
In addition, there are a number of skin issues or goals that you might like to cater to, such as:
- Aging skin: It shows some fine lines and wrinkles and you would like to prevent further development of visible signs of aging.
- Acne-prone: It tends to break out often.
- Sensitive skin: It’s irritable and doesn’t enjoy exposure to new foods, environments or products.
- Uneven skin tone: There’s lots of variation in different parts of the face; it could be dull, blotchy, sallow or red.
- Marks or scars: You may want to fade marks or scars and even out the skin tone.
- Inflammatory conditions: You may want to soothe uncomfortable conditions such as rosacea or psoriasis.
Now that you’ve determined your individual skin type, it’s time to find the right oils that will help meet your needs.
How to choose your oil blend for oil cleansing
The following list will help you understand the most common oils used for skin care, and what skin types they are most suitable for.
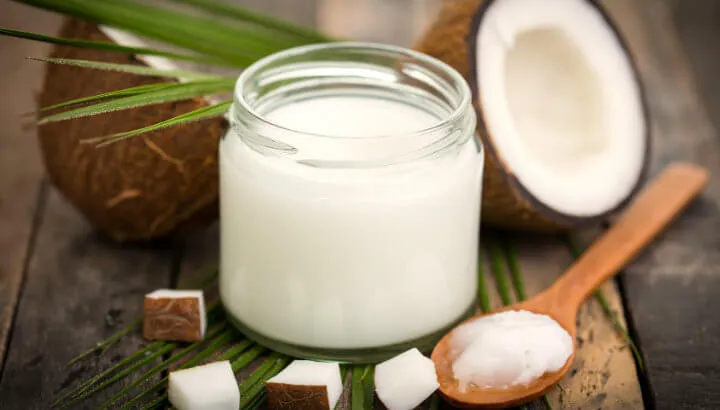
- Coconut oil: Antibacterial and rich in anti-inflammatory saturated fats, coconut oil is good for extra dry skin, although some find that it can clog the pores and contribute to blackheads
- Almond oil: High in monounsaturated oleic acid, with some linoleic acid, and many vitamins and minerals, almond oil helps create balance for combination skin and protects from sun damage.
- Sunflower oil: Contains lots of vitamin E and other antioxidants, sunflower oil is good for oily skin.
- Olive oil: A skincare favorite from ancient times containing a high proportion of oleic acid, olive oil is best for dry skin.
- Castor oil: This oil helps purge the skin of impurities, so include some castor oil if you tend to get blackheads.
- Avocado oil: It contains mainly unsaturated fatty acids and vitamin E, supports dry skin and acts as a natural sunblock.
- Argan oil: This oil absorbs easily, is full of antioxidants, polyphenols and cancer-preventing squalene. It’s also non-greasy so works well for combination skin.
- Rosehip oil: Rich in carotenoids and flavonoids which assist in skin cell renewal and help balance combination skin, rosehip oil also perfect for aging skin
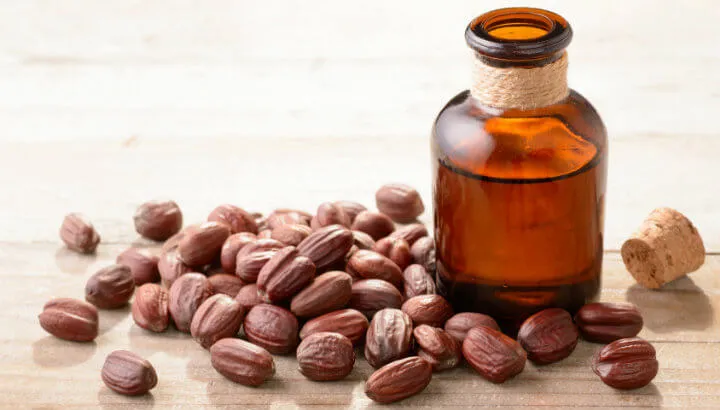
- Jojoba oil: Known to support skin protection and repair, jojoba oil is good for all skin types
- Grapeseed oil: This oil is full of phenolic compounds and vitamins, good for oily skin, known to reduce scars and fight aging.
- Tamanu oil: It contains anti-inflammatory and anti-cancer compounds, is great for reducing marks and scars, and treats eczema, psoriasis and age spots.
- Apricot kernel oil: This lightweight oil is rich in antioxidants, suitable for oily skin or combination skin, known to firm and tone skin and provide anti-aging benefits.
- Moringa oil: This antioxidant and nutrient-dense oil fights acne and is powerful for aging skin.
- Evening primrose oil: This oil contains a high proportion of linoleic acid, and is best for oily skin. It also heals eczema and treats acne.
When choosing oils to try, keep in mind that you should always avoid any which may trigger allergies, such as nuts.
Face oil recipes for oil cleansing and moisturizing
The next step in creating your own DIY face oil is to select two to four oils from the list above that suit your individual skin needs.
Then, proceed to make your blend.
Instructions:
- Start with a small amber or cobalt glass bottle, preferably with a dropper top.
- Fill the bottle to 50 percent with a basic moisturizing and nourishing oil that suits your skin type, like avocado or olive oil for dry skin, grapeseed or sunflower oil for oily skin, or apricot kernel or sweet almond oil for combination skin.
- The remaining 50 percent of the bottle volume should be divided between two to three oils that cater to your skin needs or goals. For example, if you have aging skin, you can use 1/3 each of tamanu, apricot kernel and rosehip oils.
- Store the mixture in a cool place away from light to keep the oils from oxidizing.
Potential recipe ideas include:
- Aging skin: three parts grapeseed oil, one part tamanu oil, one part apricot kernel oil, one part rosehip oil
- Oily skin: two parts sunflower oil, one part castor oil, one part argan oil
- Sensitive or irritated skin: three parts sweet almond oil, one part tamanu oil, one jojoba oil, one part evening primrose oil
- Dry skin: two parts avocado oil, two parts coconut oil, one part jojoba oil, one part moringa oil
- Acne-prone skin: three parts apricot kernel oil, one part evening primrose oil, one part castor oil, one part tamanu oil

How to do oil cleansing for your face
Once your oil blend is ready, it’s time to use it! Simply splash your face with warm water to open up the pores, then massage in a dime-size amount of oil for about a minute. Be sure to work on the whole face, neck and decolletage.
Next, wet a washcloth with hot water (not scalding) and lay it over your face to steam the pores for a moment, then gently wipe away the excess oil. Repeat the steaming and wiping process if needed. Finally, if the skin feels a bit dry, use a drop or two of your oil blend as a moisturizer.
Keep up the routine for at least a week or two and you’ll be seeing gorgeously renewed skin.
Learn More: Free book reveals why coconut oil is ‘Mother Nature’s’ #1 healing superfood! =>
— Liivi Hess
- Share on Facebook16
- Share on Pinterest
- Share on Twitter